Imagine a bright weekend and you want to do nothing but eat and sleep, then here is a dish which will satisfy your taste buds and trigger you to sleep like a lullaby. You must have guessed by now what it is?
Yes it is the famous Masala Dosa. Cool :-) but I donot know how to make it :-(
Here is the simple recipe to bring that smile back on your face
For Dosa
3 raw rice
1 boiled rice
3/4 urad dal
2tsp methi
1/4 beaten rice
1/4 cup channa dal
1/4 tsp soda
1 tsp sugar
Soak raw and boiled rice, channa dal, beaten rice and methi together for 5-6 hours.
Urad dal should be soaked separately for 45 mins before grinding only
Grind together
Let it ferment it
Just before making the dosa ensure you put soda and sugar.
Heat the iron girdle
Smear the iron girdle with oil probably using a onion
Start spreading the dosas on the girdle
Ensure the stove is working at medium flame
Chutneys
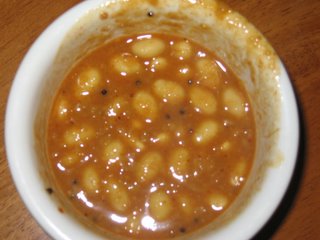
Red Chutney
2 medium size onions
6 to 7 red chilli badgi
small piece of tamarind( 1 -2 cm diameter)
salt to taste
hing
Heat a kadai
Add some oil to it
Fry onion till transparent
While the above is being done soak the badgi chillies
Transfer the onion, chillies, tamarind, salt and hing to a mixer container and churn it in the mixer
Use it on the dosa just when you about to reverse it
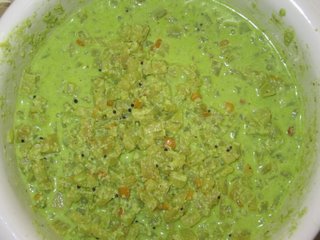
Green Chutney
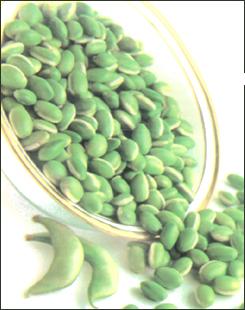
1 cup fried gram
1 tbsp coconut
7-8 green chilli
1/2" ginger
salt
a medium piece of tamrind (about 4 - 5 cms)
one or two pod of garlic (optional)
small piece of onion (optional)
coriander leaves
Add all the above contents to a mixer and churn till 3/4 done
Add coriander leaves 10 springs and churn again
Season it with mustard, hing, channa dal, urad dal and curry leaves
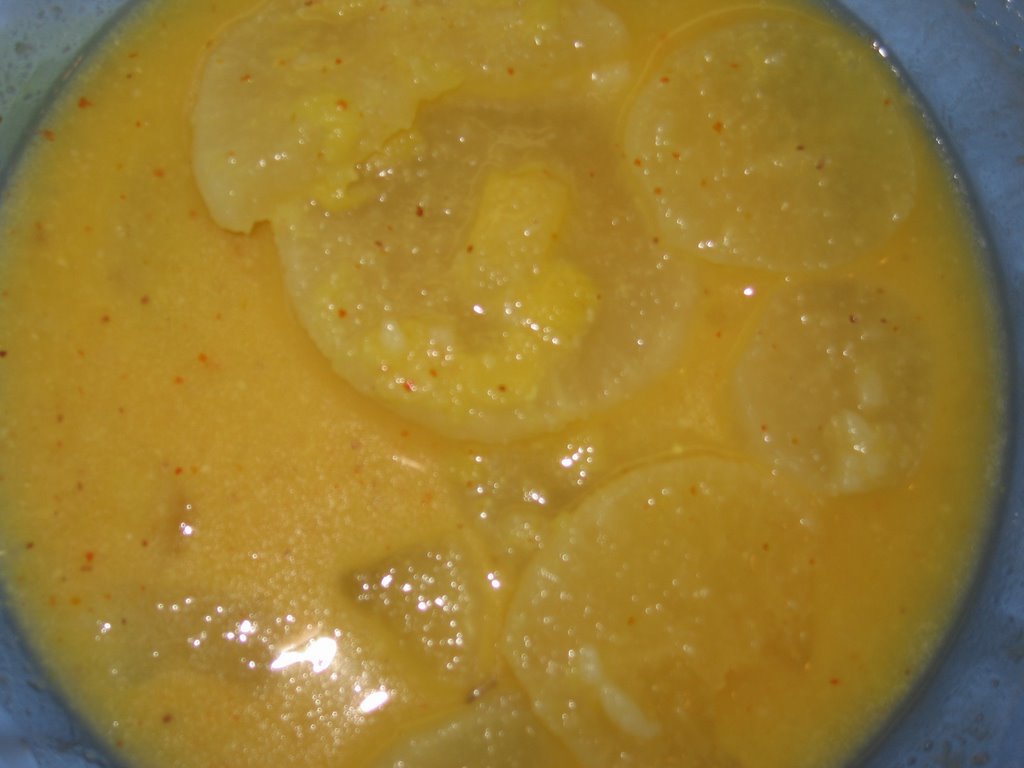
Potato Curry
Potato (1 medium size potato per person)
3 tsp oil
1/4 tsp mustard
1/4 tsp ajwain
Onion (1:1 with reference to potato)
6- 8 green chillies
curry patha 2 springs
1" ginger grated
1/4 tsp haldi
salt to taste
Wash and boil potato. After it is boiled peel it and mash it. Remember to put a little salt so that it enters the potatoes
Cut Onion.
Heat a kadai
Add oil to it
Add mustard let it splutter then add ajwain
Add onion to it and fry till transparent
Add green chillies, curry patha, ginger, haldi, salt
Add the mashed potato
Mix well and use it on the dosa along with the red chutney
Let us know how was it